|
Dashboard Restoration Notes from Chris
Weidner
(Thanks to Chris Weidner who provided these great notes on dash/behind dash
restoration)
Hi guys -- I wanted to follow up on
this, as I just completed the dash rework a few days ago.
1) Jute padding with plastic garbage bag-like backing is not under the
"dash", but under the top portion of the passenger-side firewall.
---- I ended up buying some carpet underlay/padding from home depot. It's
totally foam, as well as a roll of silver/reflective "bubble wrap"
insulation. I cut the silver stuff to fit everywhere under the dash area and
on the floor pans. I used 3M spray adhesive to attach it all. I know it's
not original, but you can't see the stuff unless you look under the dash. So
far so good regarding how things have quieted down. It will be interesting
to see if the heat is less in the passenger compartment. I used the foam
insulation in varous places where the carpet underlay (attached to the
carpeting) didn't cover.
2) Circular "ring" foam for attaching the vents to the bellows/heater box
plumbing.
------ I bought the thinnest foam I could find at Hobby Lobby. I think it
was at least 1" thick!! But it compressed down nicely. I used this for the
heater core to box outer seal, and the "bellows/vent doors" to cowl seals -
the circular ones. I cut them all by hand. The foam was a light green, and
compressed down nicely.
3) Rubber gasket that attaches behind the steering column and has a grommet,
as part of this pad, for the clutch rod.
--------- I used my original one, along with the repop "foam" part. I tried
to patch up my original seal as good as possible.
4) Paint for dash (black) - it's a metallic black color.
-------- Research led me to part# D1A32586 - Charcoal black poly. My local
paint store mixed a quart of laquer for me (PPG Duracryl DDL). It's a
perfect match to my original dash and steering column. Mix was 1:1 with
laquer thinner.
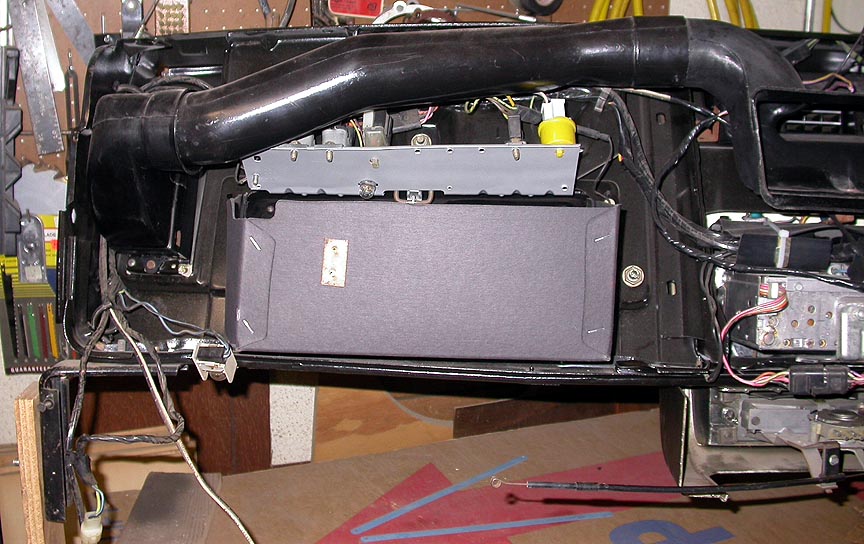
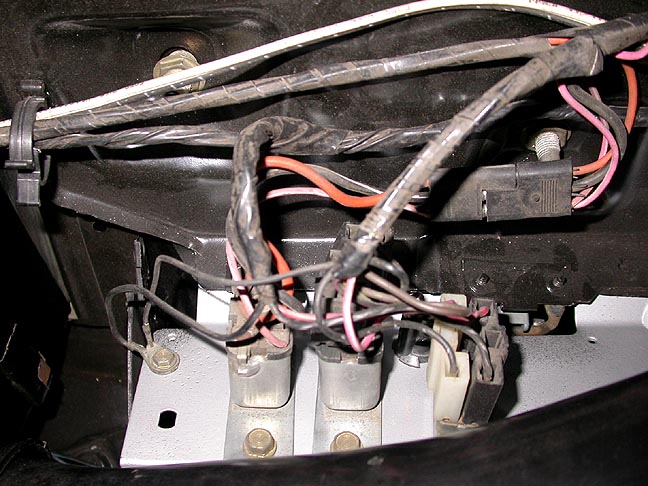
5) Heater core grommets -- there were two of them that pressed in from the
passenger compartment side.
-------- Spoke with green sales company, and after a couple days of research
(they were looking for quite a few things for me), the Ford microfishe
recommended the user "improvise" on these grommets. How about that!!!???
Funny stuff. So, there was no real part# for these. And I guess when I think
about it, most cars have a variety of things sealing the heater
core-through-the-firewall holes. So, I used my crappy originals and just put
the heater hoses as close to the firewall as possible.
6) Seam sealer
--------- I bought a can of 3M sealer. I used it where I'd scraped all my
original stuff out of the seams/corners from my floor pans.
Couple of other items:
a) Repro firewall insulation pad (npd? mustangs unlimited?) was crap. Some
of the holes for the ventilation fan were missing or wrong, mounting areas
were wrong. I should've compared it to my original and taken a photo, but
didn't. I had to cut these to fit. Pain in the A.
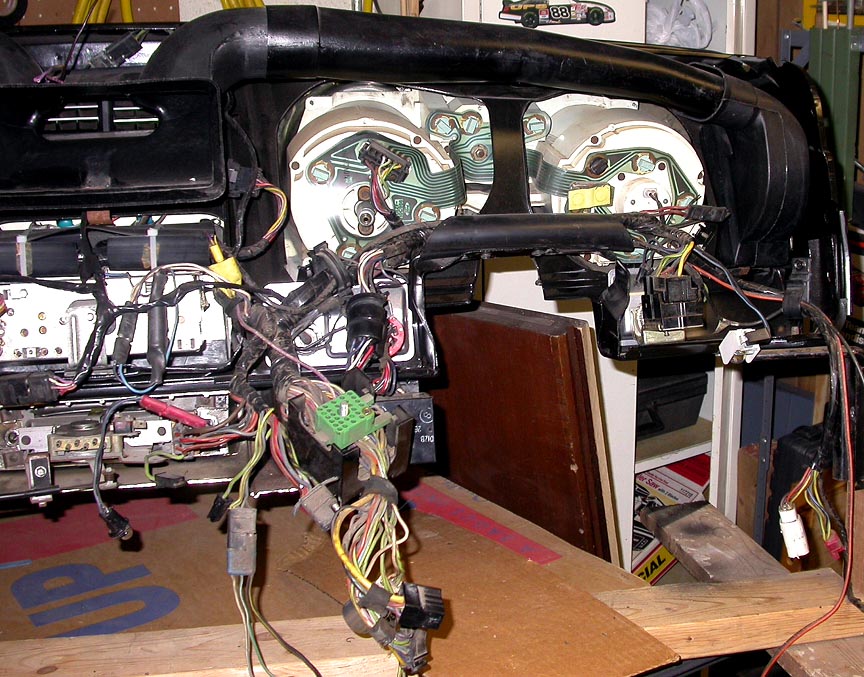
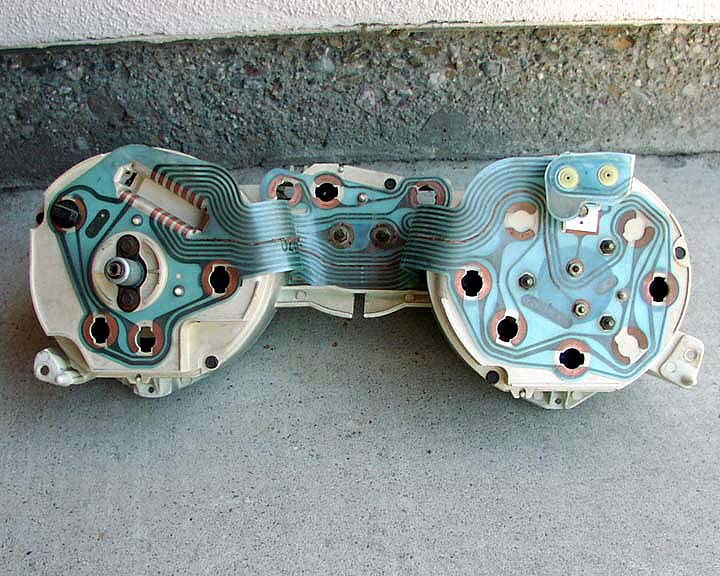
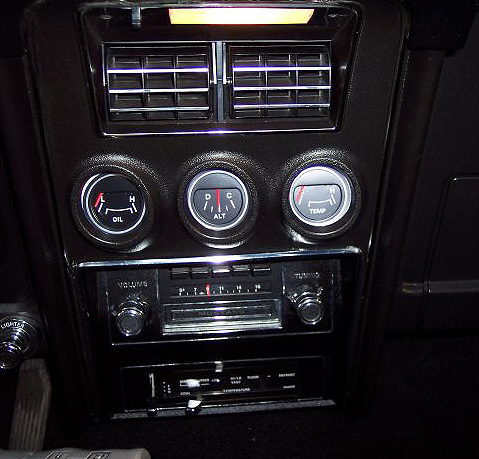
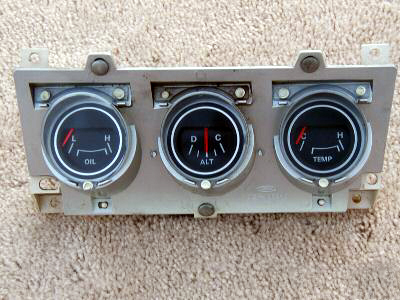
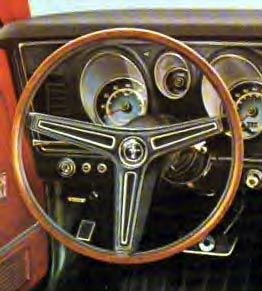
2) Reworked the speedo/tach cluster and center gauges -- pulled them apart,
cleaned them, masked them off and reshot them (inside and out) with a gloss
white. And polished the lenses with 3M Plastic Cleaner (by hand). They look
brand new!!!
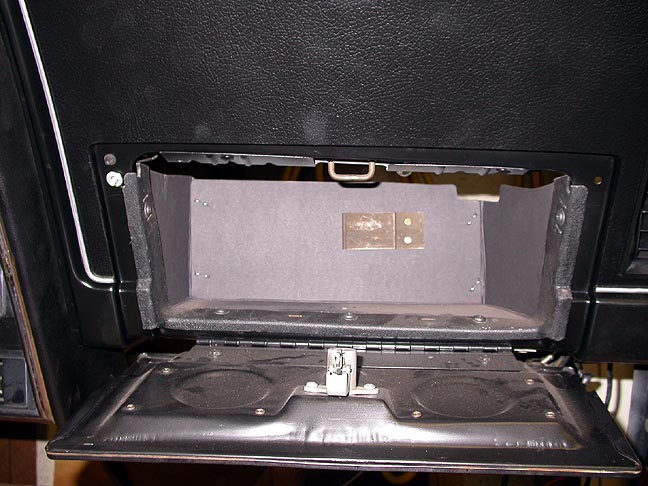
3) Yes, went to Mr. Gs in Fort Worth, Texas (30 minutes from me) and
"traded" in my dash bezel, glove box door, glove box bezel for reworked
ones. Not cheap --- Just under $400. But, I felt the quality was really
nice, and the pieces were better than my originals. Installed in the car,
now that it's all redone (with my fresh rim blow restoration --- dave prine!),
these make the interior look like a million bucks. I think it was worth it.
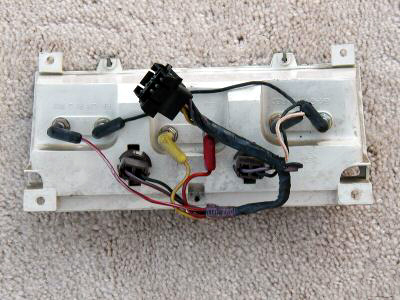
I would've done the center gauge bezel, but they didn't have a "replacement"
for me. And for them to do mine, it would probably be a few months. So, I'm
on the hunt for another center guage panel that I can send to them to redo,
while I keep my original in the car. I did spend a bunch of time reworking
my original one, so it looks much better.
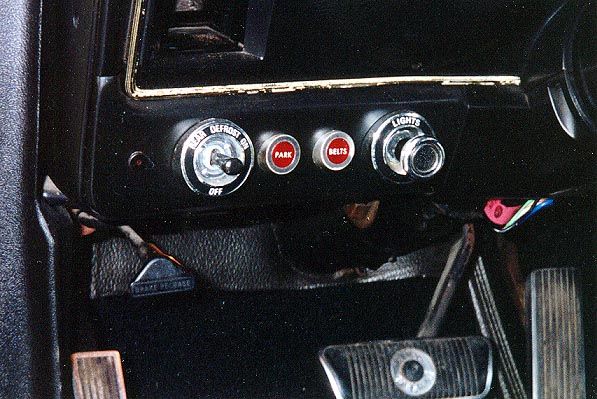
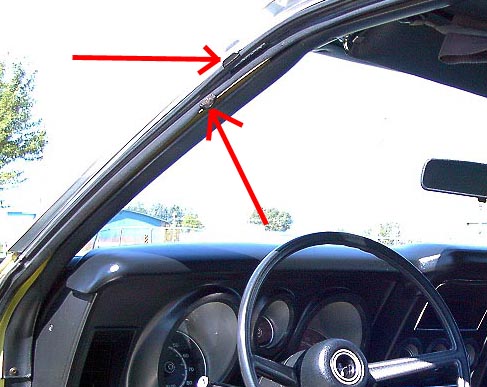
4) A few months ago I posted here about a "seal" that presses up into the
steering column -- just above the rag joint. My original white/plastic
piece, or seal, was kind of falling apart. Green sales company helped me
source part# D1AZ-7347-A from a place in Dallas. So, I was able to pick that
one up too! It's called Parts International (partsinternational.com). It was
$12.
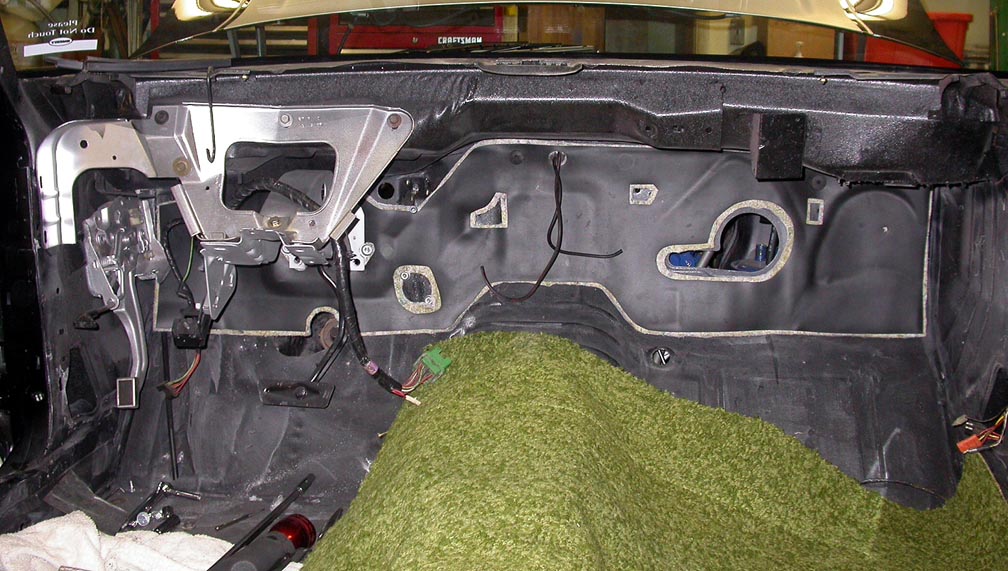
Think that's it. In a nutshell, after stripping everything out of the
interior, including the rear seat bottom and side panels, I treated any
surface rust from the leaky heater core (first, hit it all with a drill/wire
brush) with metal conditioner. Then cleaned with water, and then applied
POR-15 over the surface rust areas. I then used red epoxy primer everywhere.
(had the entire interior of the car taped off, and the outside covered. One
mistake I made was not plugging the cowl vents in the engine compartment.
Had some dusting here from the red oxide primer. I then sprayed body color
on the floor pans, like it was originally.
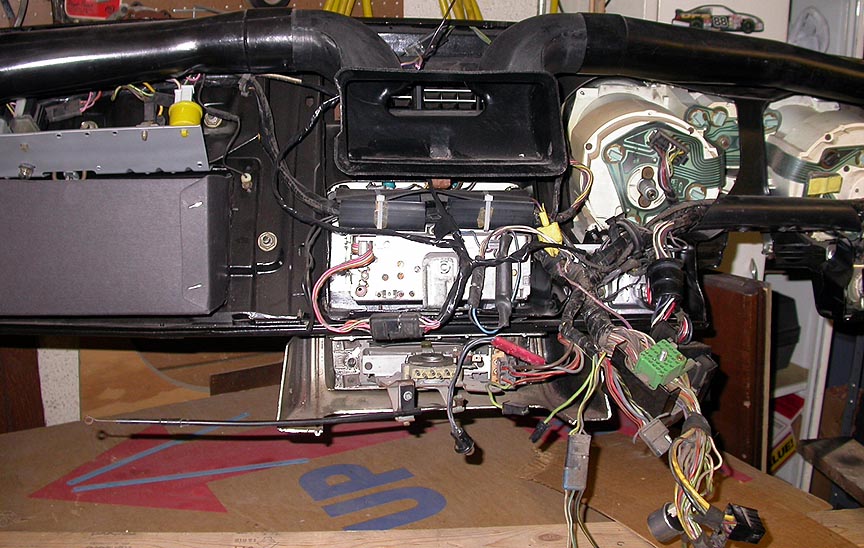
I also wire brushed and reshot every part --- bracing for pedals, pedal and
clutch assembly, brakets --- everything. Mostly used Eastwoods Detail Gray
and Spray Gray, plus the Krylon gloss black. I tried to keep the colors as
they were originally. I cleaned the wiring harness (out of the car), and
scruubbed down the dash and steering column (both out of the car) with a
gray scotchbrite. Then put it all back together. No real issues. The
toughest part was the crappy firewall insulation pad.
Took a bunch of "disassembly/before" pictures, but no "reassembly/after"
photos. But the results were totally worth the effort. Hope this helps!
Chris
|
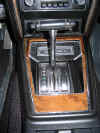
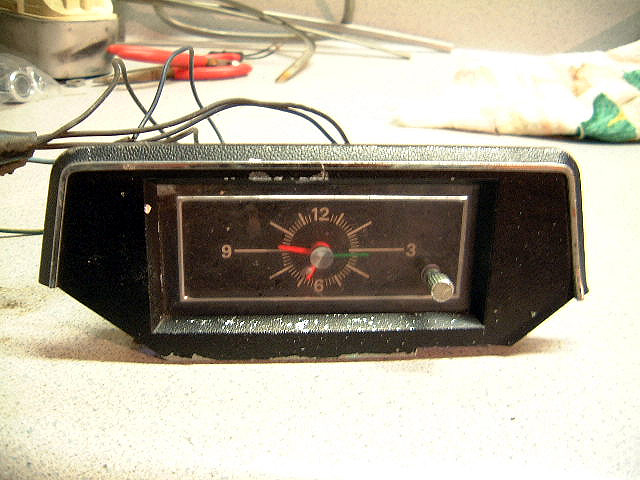
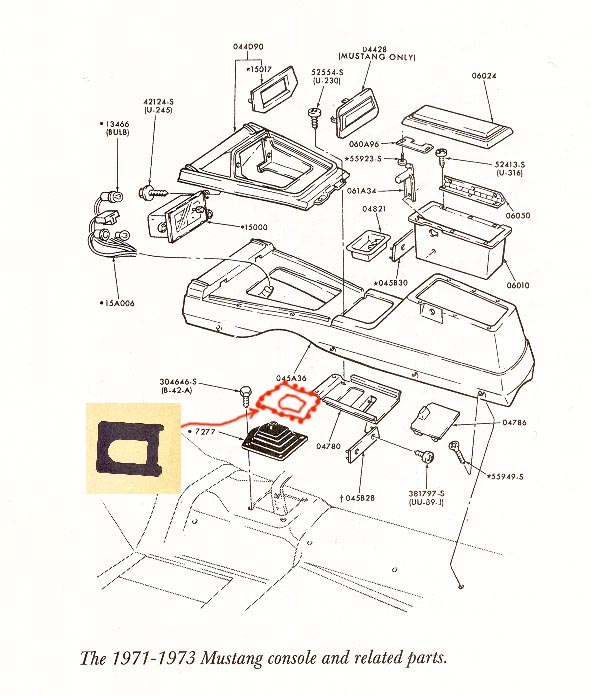
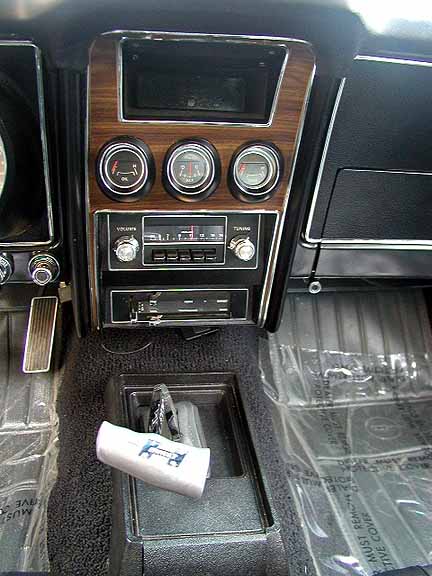
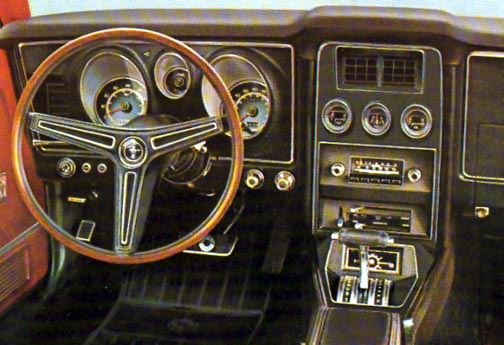
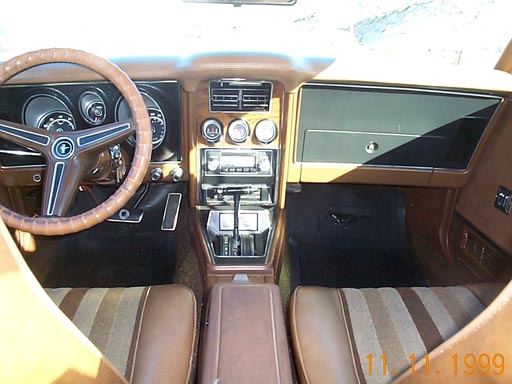
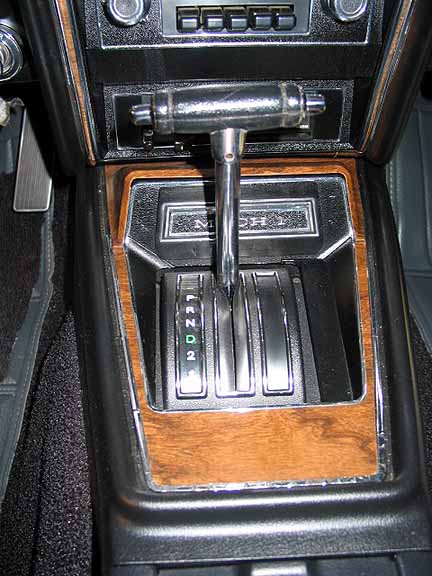
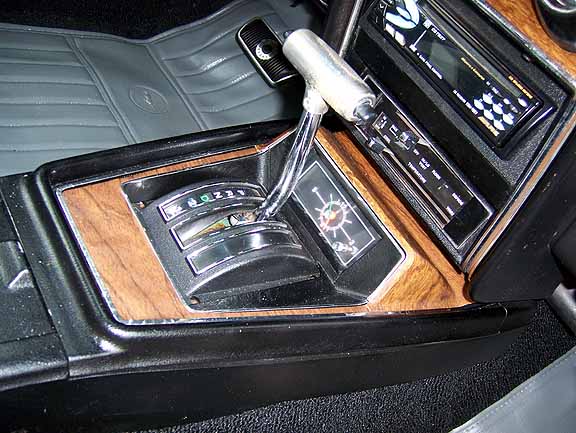
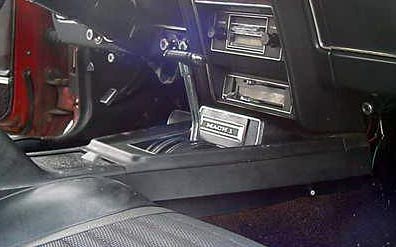
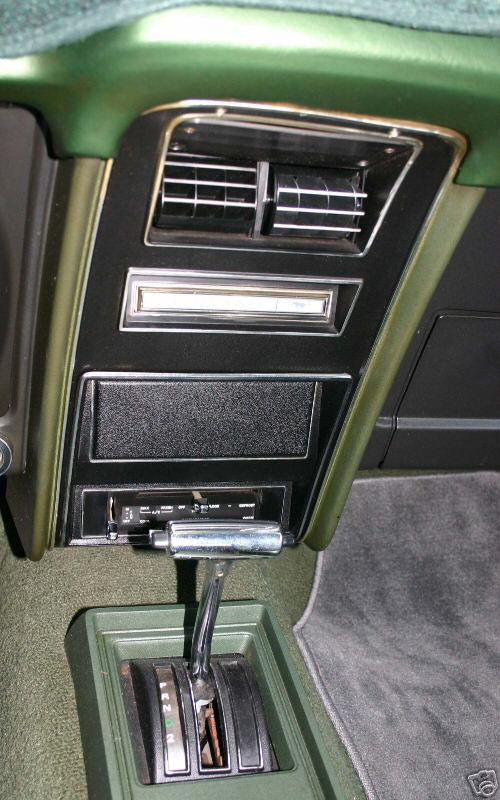
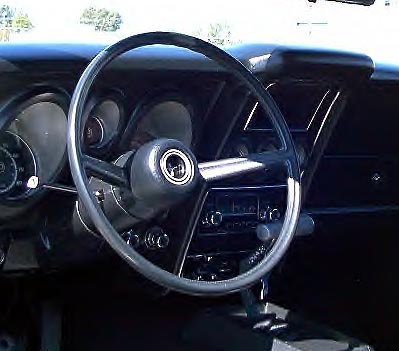
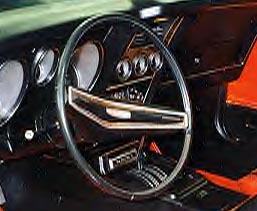
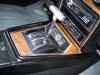 Wood Grain (around the clock) Console
This option is extremely rare and is only found on
*very* early built 71 Mustangs - perhaps only from August 1970. The wood
grain appliqué is applied to a special formed metal piece which is glued
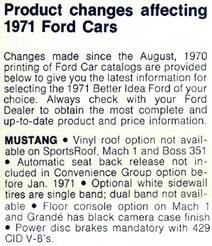
to the console. Soon after production started, the wood grain option was
deleted and replaced with a black
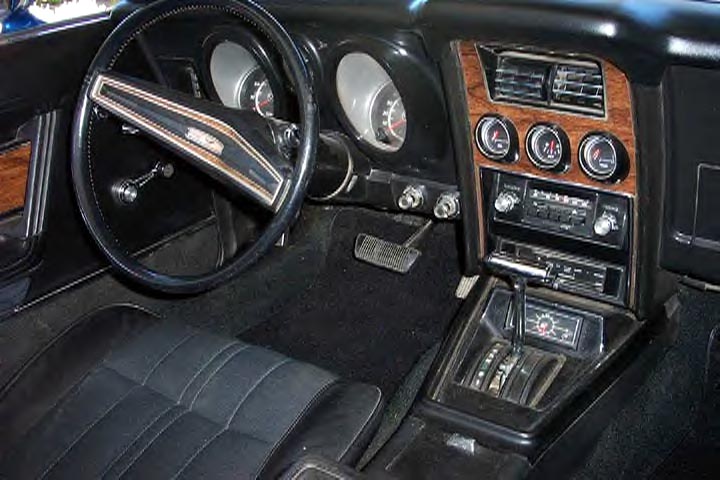
camera case finish, which is what is found on most 71 Mustang consoles around the clock. Note
that any color console still had black
around the clock, up to the ash tray. For 73, the black only went
up to and around the shifter, not the ash tray.
Black camera case (grain) is also the finish used on the left and right
dash of a Sport Interior. |