|
Home
About This Site
Air Cleaners
Audio
Carburetors
Charging System
Chassis
Cooling System
Decoding
Detailing Center
Diecast Cars
Differential
Documentation
Driveshaft
Engine Bay Detail
Engine Brackets
Engine - External
Engine - Internal
Engine Tags
Exhaust
Exterior
Favorite Links
Fuel System
Gallery 1
Gallery 2
Gallery 3
Gallery 4
Gallery 5
Gallery 6
Gallery 7
Gallery 8
Gallery 9
Gallery 10
Gallery 11
Gallery 12
Gallery 14
Gallery 15
Gallery 16
Gallery - Photos from For Sale Ads
Heater & A/C
Ignition
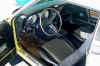
Interior
Junkyard Cars
Memorabilia
Mustang Monthly Article Index
Oil Cooler
Paint Info
Parts Sources
Performance Data
Photography
Pulleys/Belts
Registry 71 429 Cougar
Registry 71 429 Mustang
Smog/Emissions
Special Topic
Special Topics 2
Starting System
Statistics
Steering
Suspension
Tech Writeup Index
Transmission
T-Shirts
Trunk
Underhood Component Coatings
Videos
Vintage Ads
Under Hood Non Engine Components
Wheels/Tires
Index
| |
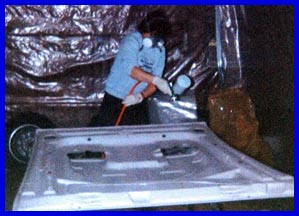
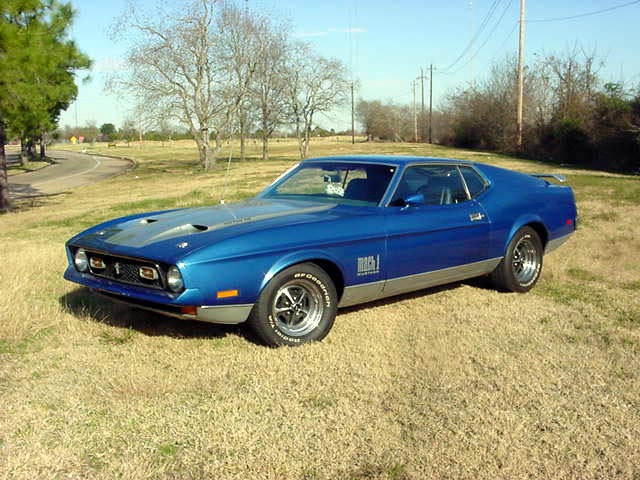
Member Rich Pajzer painting his NASA Hood
This page covers exterior paint and decals.
(Note: Click thumbnails to enlarge pictures.)
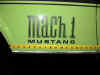
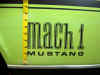
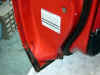
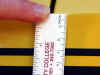
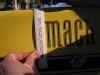
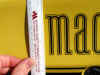
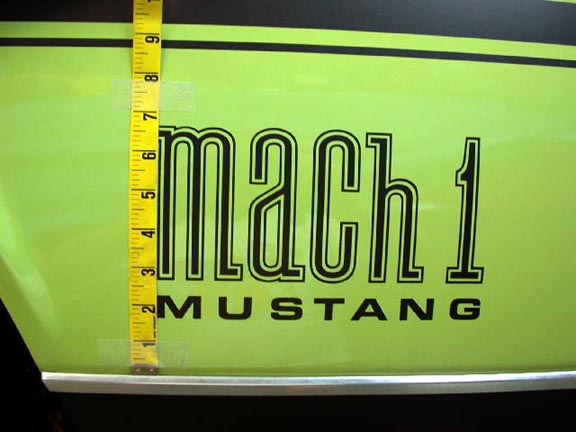
Fender Decal Location
The two photos above show where to correctly locate the
Mach 1 fender decal.
|
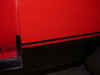
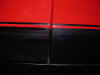
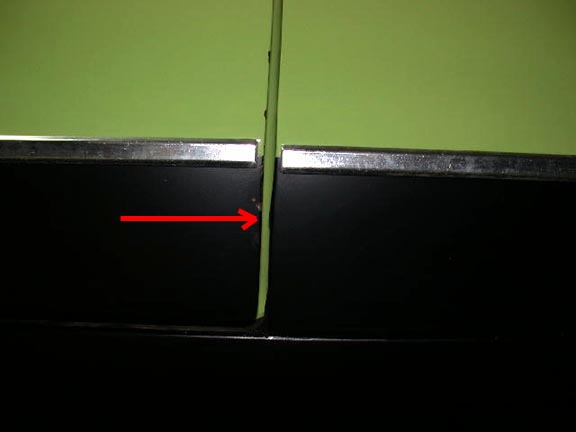
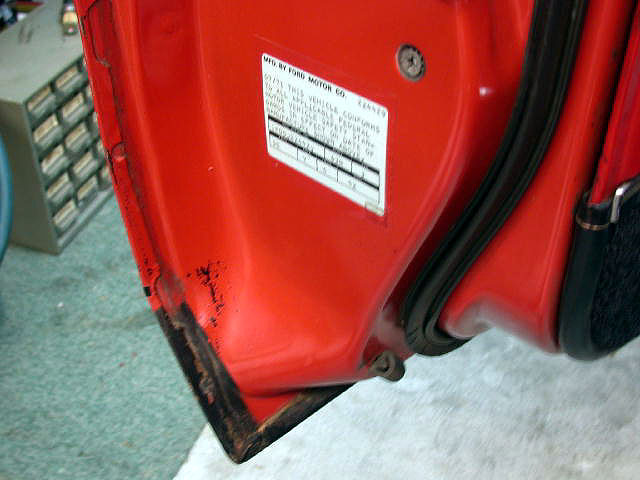
Door Jamb Paint Scheme
Note how the body color is visible in the door jamb
pictured above left, but the door jamb pictured at above right has been
painted black so body color is not visible through the gap. It
appears that the blackened door jamb was fully incorporated in 1972, but
was used in a "hit and miss" manner in 1971 since original 71
cars have been found painted both ways. The photos below show details of
the door jambs with the door open.

|
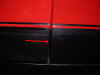
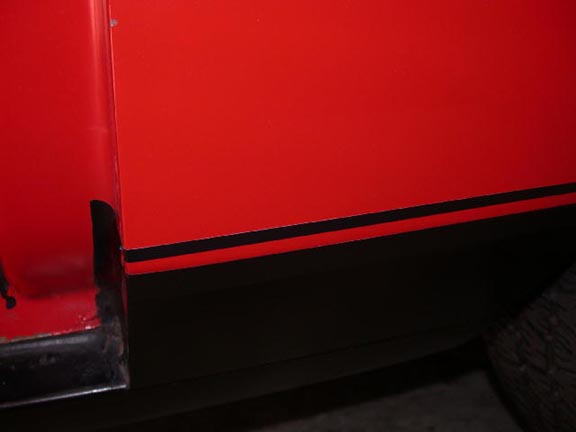
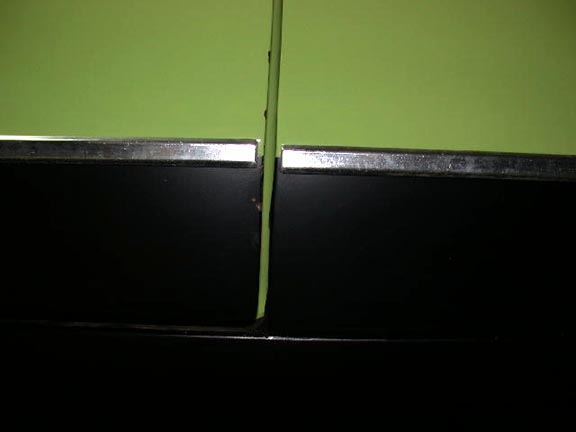
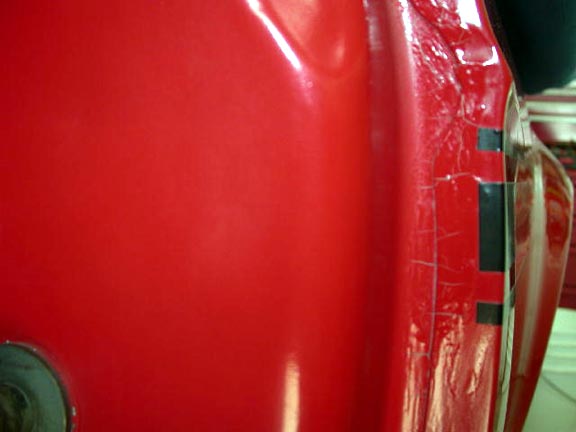
Lower Stripe/Molding
If you ordered your Mach 1 without the
"hockey stick" side stripes, your car came with the chrome
molding shown at left. Mach 1s equipped with the hockey stick side
stripes had a black stripe above the lower blackout as shown at right. The
pictures below show this on two example cars.
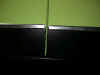
|
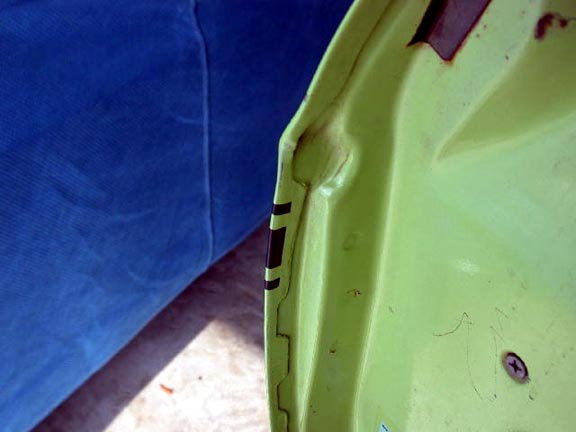
Correct black pattern on lower, inner edge of door
|
Stripe wrap on door jamb.
|
Stripe wrap-around on edge of door
|
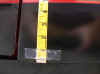
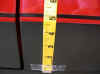
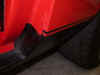
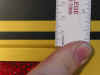
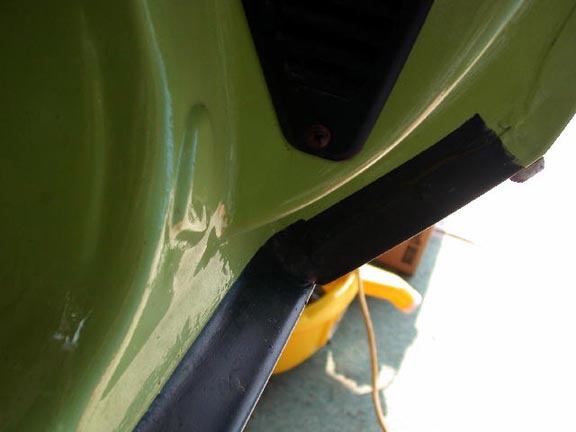
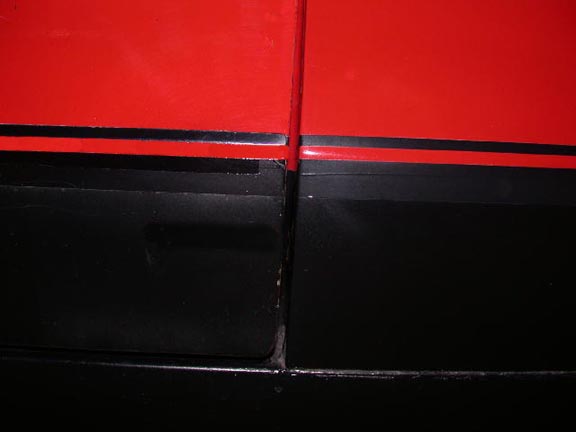
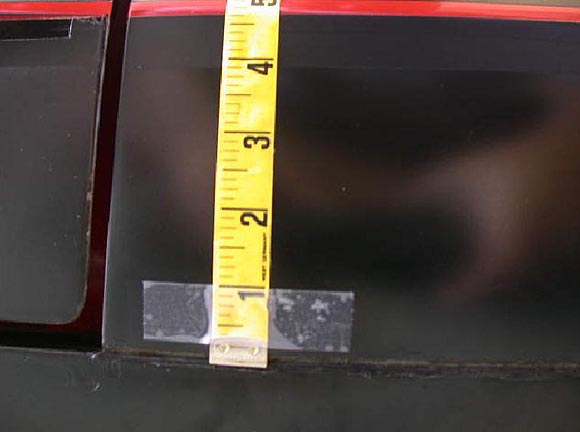
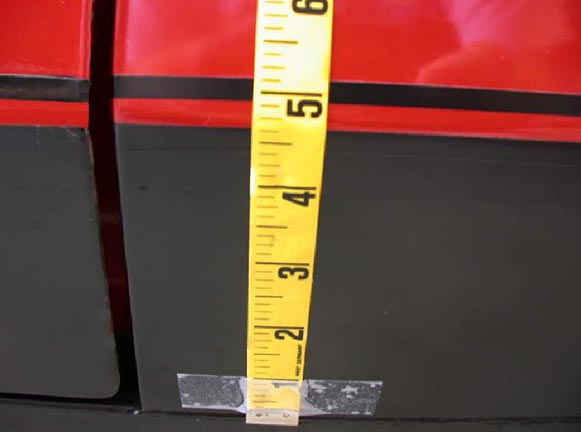
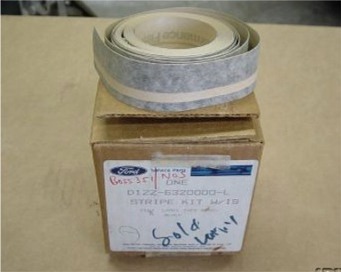
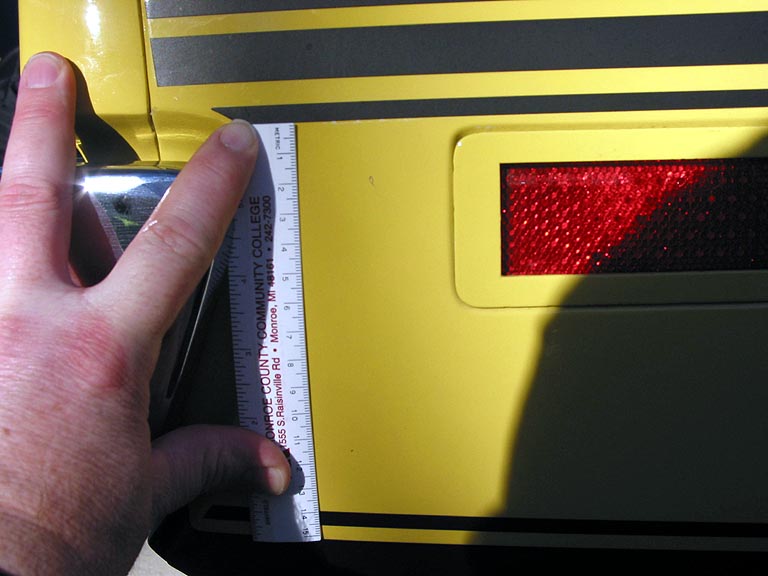
Lower Blackout
The photos above show dimensions for the lower blackout
and the pin stripe. Note the seam at the rocker panel is used as reference
point. Ford used a special lower body tape stripe to
make the pin stripe above the lower blackout. It consisted of (from top to
bottom), the pin stripe, then the space, then a 3/4" stripe. The 3/4" stripe
covered the merge paint line between the lower paint, and the upper body
color. The lower color was sprayed on the car first, then maybe
covered/masked over quickly, then the body color was sprayed. The wide
(3/4") bottom section of the lower stripe went over the lower body paint merge
line to give it a clean straight edge. These stripe kits came in either
black or argent to match the lower body color.
|
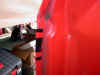
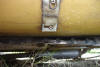
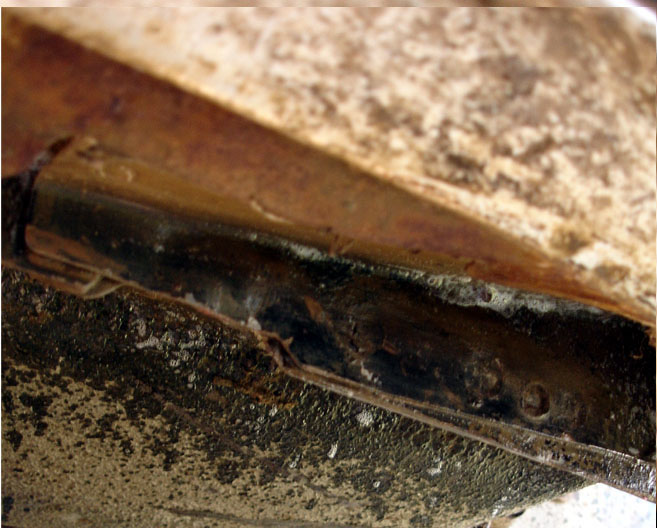
| Pinch Weld
Blackout
Group member Jeff Speegle has conducted research on how
the pinch weld should be painted. Here is his evaluation of 71 Mustangs in
the wrecking yard;
The pinch weld blackout was used on 71 Mustangs and was
continued from the earlier Mustang production years. The only cars that did
not receive this detail would have been cars painted a very dark exterior
color (some of these may have received the blackout but most did not) and
those cars that had the lower panels painted argent at the factory.
Jeff's supporting photos are below:

|
|
Side Stripe Location
|
|
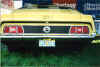
Decklid Decal Location
|
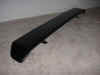
Rear Spoiler
The Rear Spoiler was painted a low gloss, textured black.
|
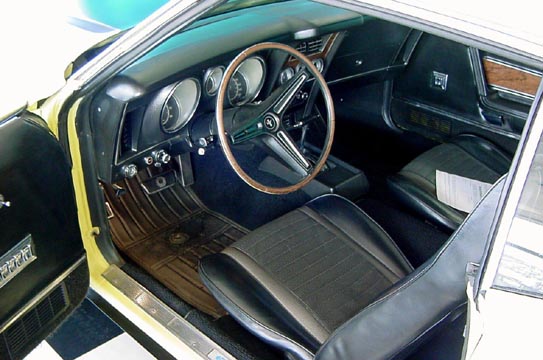
Door Sill Plate
There was body color between the sill plate, and the
lower
black/argent for 71. Sometime in 72, the center sill area went to all
black/argent, without any body color showing.
|
|
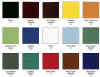
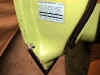
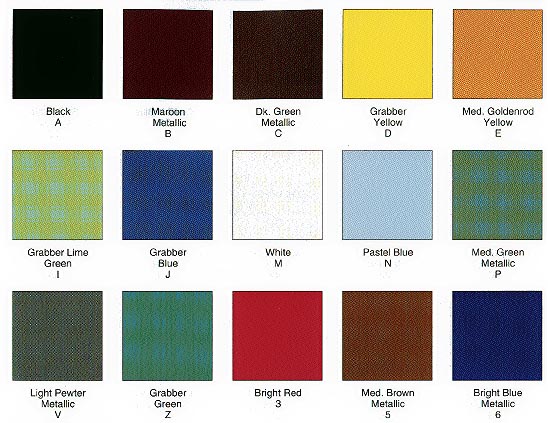
71 Mustang Paint Chart
The chart above is a scan of a 71 Mustang Paint Chart
showing the codes found on the decal in the driver's door. Please note
that the colors on a computer screen do not match correctly to the actual
chart, however, the chart will give you a general idea of what the color
is.
To see these colors on actual 71 Mustangs, click the
link to this site:
71
Mustang Colors
|
|
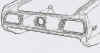
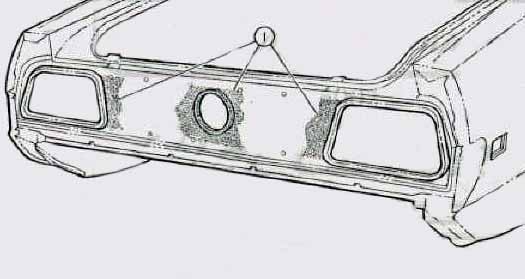
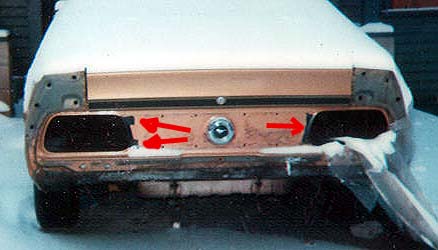
Tail Light Panel Blackout
The Tail Light Panel was was painted black (in areas
shown in drawing above) anywhere the body color could be seen. For
example, around the ends and in the center of the optional rear panels and
around the fuel filler area. The photo below is of a '73 which shows the
factory blackout near the tail lights.

|
|
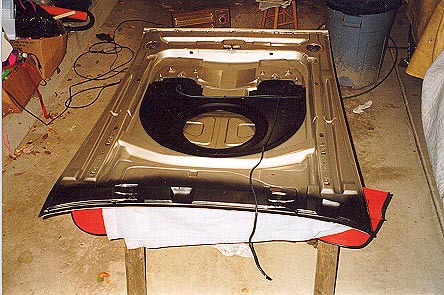
Hood Blackout on Rear Edge
This photo shows the black paint applied by the factory to the rear
edge of light colored 71 Mustang hoods. (original and restored pics shown).
The purpose of this was to keep the light color of the lower rear edge of
the hood from being visible to the driver.
|
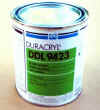
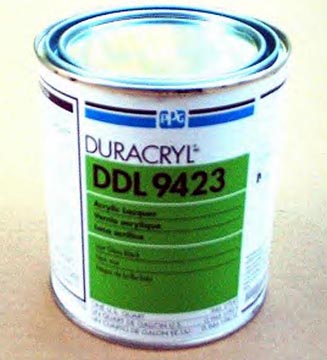
Hood Paint
Bob Perkin's states the correct NON-textured 71 black
hood paint PPG quarts were the one's labeled DDL-9423. He also states the
PPG DAR-9000, (which was the exterior gloss black whole body paint), can
have 30-35% of PPG's DX265 flattener added to it to produce the proper 71
black hood finish. In another article, he indicated that too much
flattener gives the black a milky look. Unfortunately, this paint (Duracryl DDL 9423) is
now obsolete. A quart of this paint recently went for $200 on E-Bay.
|
New Paint Methods for getting the correct Hood, Engine
Compartment and lower blackout
Mustang Expert and owner of
Mustang Central, Allan
Shepley, has generously provided the 429 Megasite with the below
information on achieving the correct appearance for our 71 Mustang hoods,
lower blackout and underhood black using currently available products.
Prior to Allan's help, people had to come up with something themselves
since the old DDL-9423 is either unavailable (or very hard to find).
Thanks Allan!!
John Blair ~
429 Megasite Webmaster
I build Mustangs for a living and
struggled for a long time to find the best paint for hoods and engine
compartments as well as the lower black out area. The biggest problem you
have with semi-gloss black with new paints, not lacquer, is getting an
even finish. Most of them look splotchy or too flat or too glossy. The
problem with most is you add a flattener to your clear, but the results
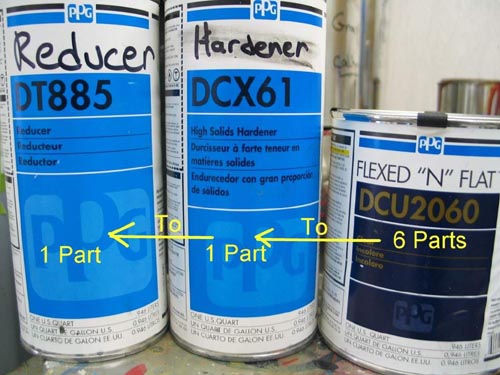
are very inconsistent. I finally found PPG's DCU 2060 it is a premixed
clear that already has the perfect mix. All you add is the hardener DCX61
and reducer DT 885. The ratio is 6 parts DCU 2060, 1 part DCX61, and 1
Part DT885. You use your black paint of choice IE. Dupont, PPG, R&M,
whatever you like and topcoat with the PPG DCU 2060. Apply two wet coats
and when its fully dried you have the perfect finish. Not only does it
look good but it also is very stain resistant, you can wax it if you like
it will not make it look powdery. Its great in the engine compartment for
a fantastic look and a tough durable and easy to clean surface. I better
quit I'm sounding like a commercial.
Allan
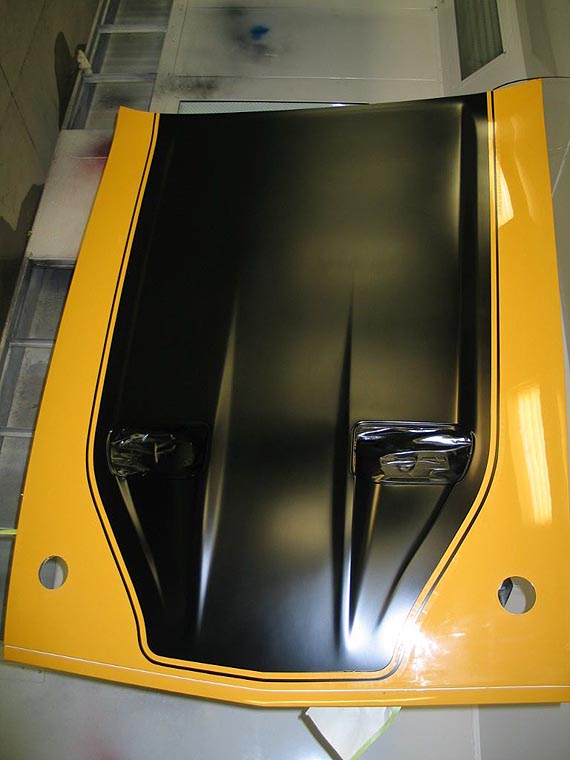
Mustang Central
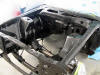
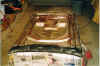
Here is a sample of an engine compartment
sprayed with the PPG Semi Gloss Clear. |
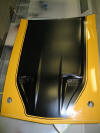
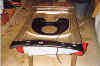
Here is a sample of a hood done in PPG.
|
|
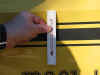
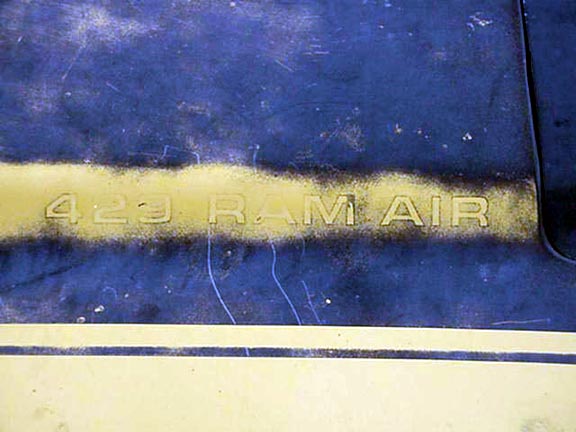
429 Ram Air Decal Location
The photo at left shows the factory location of the 429
Ram Air decal on an original car. The decal has also been noted a little
closer to the scoops on some cars, as shown in the photo at right, so
there may have been some variance in its placement.
|
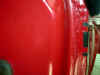
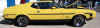
Lower Body Accent Paint
The 71 -73 Mustang
lower body accent paint was sprayed on first, then masked, and then the whole
body color sprayed afterwards. It's been said that you should have slight
body color over spray on the floor pans near the rockers. This was due to
the fact that Ford positively charged their paint to attract to
the body that was also charged, negatively. This paint process drew
the paint spray towards, up, in, and around all the
car's metal for better and faster paint coverage. This process
was called electrostatic painting. If
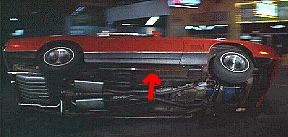
you look at this red James Bond Mach's floor, you can see the red paint
on the outer floor pans, not black accent paint.
|
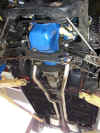
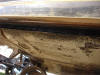
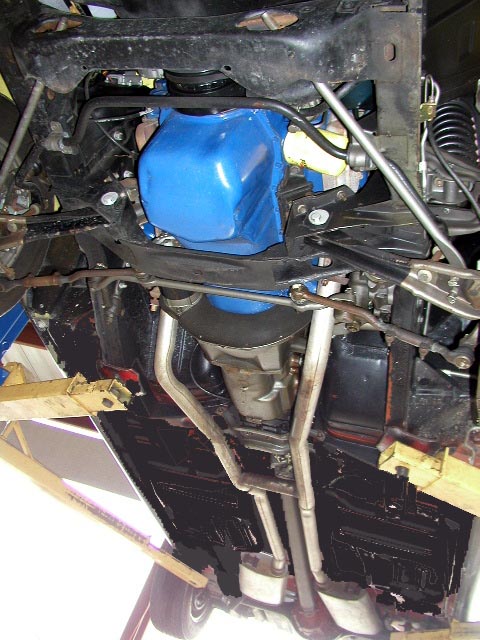
Undercarriage Paint
A survey of 71 Mustang owners in our group with
unrestored undercarriages indicated that the factory most commonly used
used black (but in some cases, dark slop gray to very dark green (almost
black)) on the undercarriage rearward of the engine compartment. Note the
photo above has been retouched to attempt to show this. If anyone has a
nice undercarriage shot, please send to the Megasite.
Owners of 71 Cougars in the group have noted the
undercarriage was painted to match the body color.
|
|
Additional
71 Mustang Paint/Related Information:
(Thanks to Rich Pajzer)
-
The
seam sealer should be put on before primer, but it is better to
prime first, add sealer, and then prime over the sealer.
-
The
only other place there was sound deadener was the rear wheel wells,
after body paint, and the front inner fender panels, after
body paint. the original fenders and hood were
painted off the cars. Only
thing painted on the car was the trunk lid and 2 doors.
|
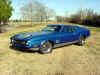
Roman
Ortiz's 429 CJ Grande |


